Project 1: My Biography
Apply your knowledge to build something amazing!
My Biography
Project Overview
ℹ️ Project Details Difficulty Level: Beginner Estimated Time: 2-3 hours Skills Practiced:
- Creating Svelte components
- Using props to pass data between components
- Component reusability
- Basic CSS styling with Bootstrap
- Project structure organization
🗺️ Project Roadmap 🗺️
- Create Header Component - Create the header component
- Build Section Component - Create the section component
- Add Info Section - Add info section to the project
- Add Hobby Section - Add hobby section to the project
- Add Personality Section - Add personality section to the project
- Create Footer Component - Create the footer component
- Style with CSS/Bootstrap - Complete this step
- Test & Submit - Submit your completed project
- Setup Environment - Configure initial project settings
Guidelines
Let's create a biography page of yourself using Svelte components!
Your biography page will include your basic info, hobbies, personality traits, and more. In this project, you'll use the skills you've learned about Svelte Props and Components to build a reusable, component-based application.
This is an example of a basic biography:
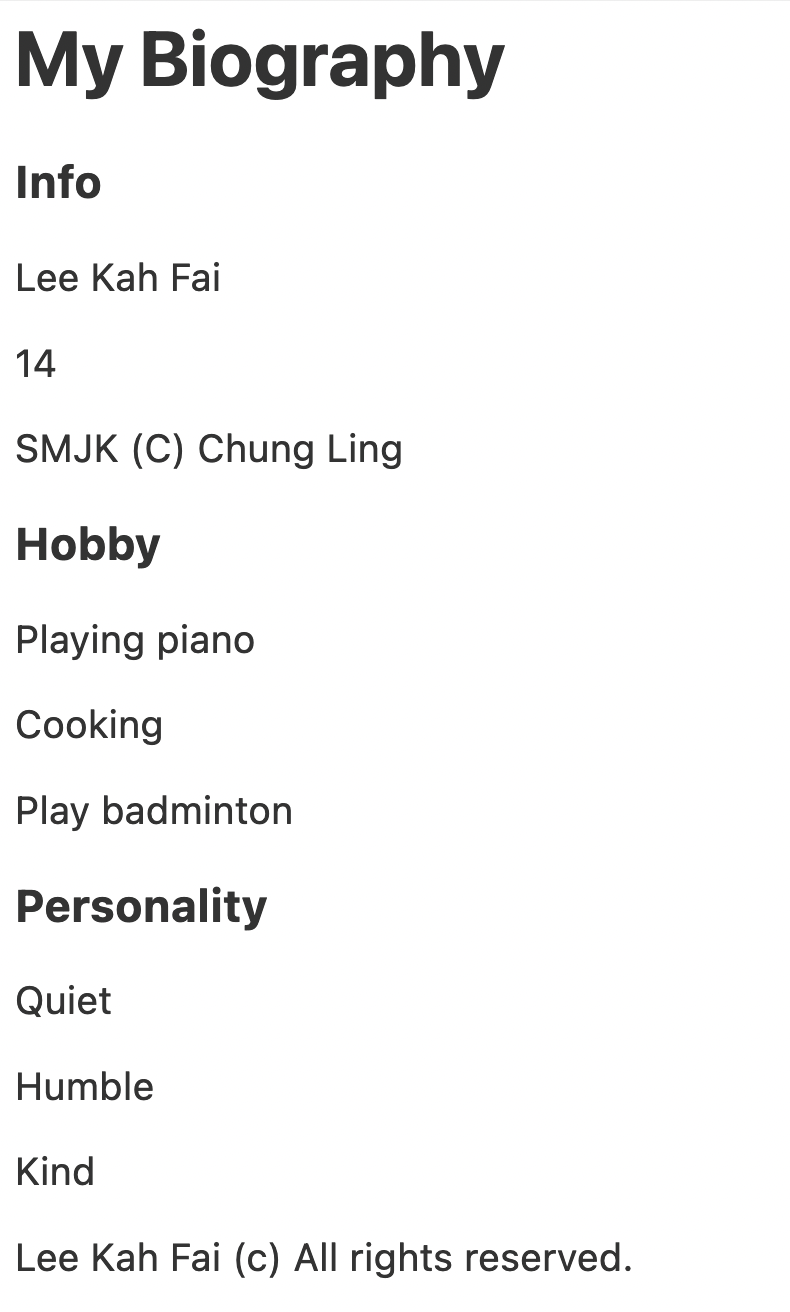
The above example is without any CSS styles added. You can add your own CSS or Bootstrap classes to make it look professional!
Project Setup
Download Template
- Download
W3-Template-project-01-biography.zipfrom Templates folder - Extract to your projects folder
- Run the setup script:
./setup.sh - Visit
http://localhost:5173
💡 Tip The
setup.shscript will:
- Check and install dependencies automatically
- Display learning objectives for this project
- Start the development server
💡 What's Included in the Template
- ✅ Empty component files (Header, Section, Footer) with TODO guidance
- ✅ Starter
+page.sveltewith import structure- ✅ Bootstrap CSS for styling
- ✅ Complete README with step-by-step instructions
WARNING: Before You Start
DO NOT DELETE the existing files in the template
ONLY EDIT the necessary files in src/lib/
Project Instructions
tip Best Practice Work on one component at a time and test it before moving to the next. This makes debugging much easier!
Phase One: Create Header Component
Let's create a Header.svelte component for our website.
Inside the Header.svelte file:
- Declare and export a variable called
titlewithout any value. - Add a
<h1>tag and set the title variable inside it by using curly braces.
php-template
<!-- Header.svelte -->
<script>
  // Export the title prop so it can be set from parent component
  export let title;
</script>

<h1>{title}</h1>
Inside the App.svelte file:
- Import the Header.svelte component as Header from
'./Header.svelte' - Add the
<Header>tag. - Set the prop
titleof the<Header>tag with "My Biography" as the value.
php-template
<!-- App.svelte -->
<script>
  import Header from './Header.svelte';
</script>

<Header title="My Biography" />
ℹ️ Info Milestone Checkpoint 1 ✅ You should now see "My Biography" as a heading on your page
✅ The Header component is successfully receiving props
✅ If you don't see the heading, check your import path and prop name
Phase 2: Create Section Component
Now let's have an Info, Hobby and Personality section but using only one component.
tip Component Reusability We're creating ONE Section component that we'll reuse THREE times. This is a key concept in component-based development!
Create a component called Section.svelte
Inside the Section.svelte file:
-
Declare four variables without values and export it:
titleitem1item2item3
-
Copy-paste the HTML code below:
css
<div>
    <h3>{title}</h3>
    <p>{item1}</p>
    <p>{item2}</p>
    <p>{item3}</p>
</div>
Inside the App.svelte file:
- Import the Section.svelte component as Section from
'./Section.svelte' - Add the
<Section>tag. - Declare an object variable called
myInfowith these properties:titlewith value "Info".item1as your name.item2as your age.item3as your school.
csharp
// Replace with your own information!
let myInfo = {
    title: "Info",
    item1: "Lee Kah Fai",    // Your name
    item2: 14,               // Your age
    item3: "SMJK (C) Chung Ling",  // Your school
}
- Inside the
<Section>tag, set the myInfo object as the prop:
css
<Section {...myInfo} />
⚠️ Common Mistake Make sure you use the spread operator
{...myInfo}correctly. This passes all properties of myInfo as individual props to the Section component.
ℹ️ Info Milestone Checkpoint 2 ✅ You should now see your Info section with your personal details
✅ The Section component is receiving all four props correctly
✅ If any data is missing, check that all prop names match exactly
Phase 3: Create Additional Sections
Now do the same for a Hobby and Personality section by reusing the Section.svelte component. You don't need to create another component, you can just re-use the Section.svelte component to make each section.
You can do this by creating 2 more object variables for Hobby and Personality.
Then change each of the properties to their respective values.
csharp
// Example structure for hobby section
let myHobby = {
    title: "Hobbies",
    item1: "Playing piano",
    item2: "Cooking",
    item3: "Play badminton"
}

// Example structure for personality section
let myPersonality = {
    title: "Personality",
    item1: "Quiet",
    item2: "Humble",
    item3: "Kind"
}
Examples of hobbies can be:
- Playing piano
- Cooking
- Play badminton
- Reading books
- Gaming
- Drawing
Examples of personality can be:
- Quiet
- Humble
- Kind
- Creative
- Determined
- Friendly
tip Make It Personal Choose hobbies and personality traits that truly represent you! This is YOUR biography page.
ℹ️ Info Milestone Checkpoint 3 ✅ You should now have THREE sections: Info, Hobbies, and Personality
✅ Each section uses the same Section component
✅ All sections display different content based on the props passed
Phase 4: Create Footer Component
For the Footer part, you need to create another component called Footer.svelte file.
Inside the Footer.svelte file:
- Declare and export a variable called
namewithout any value. - Add a
<p>tag and set the name variable inside it by using curly braces, with the text(c) All rights reserved.after it.
php-template
<!-- Footer.svelte -->
<script>
  export let name;
</script>

<p>{name} (c) All rights reserved.</p>
Inside the App.svelte file:
- Import the Footer.svelte component as Footer from
'./Footer.svelte' - Add the
<Footer>tag. - Set the prop
nameof the<Footer>tag with your name from the{myInfo.item1}as the value.
ini
<Footer name={myInfo.item1} />
ℹ️ Info Milestone Checkpoint 4 ✅ Footer displays at the bottom with your name and copyright text
✅ The name is dynamically pulled from your myInfo object
✅ Basic biography structure is complete!
🎨 Styling Phase (Advanced Level)
Make the project look nice by adding Bootstrap classes or CSS style tags.
⚠️ Bootstrap Setup Make sure to add the Bootstrap link BEFORE you start using Bootstrap classes, otherwise the styling won't work!
You can add Bootstrap 5 by adding this tag anywhere in your App.svelte file:
ini
<link href="https://cdn.jsdelivr.net/npm/bootstrap@5.0.2/dist/css/bootstrap.min.css" rel="stylesheet" integrity="sha384-EVSTQN3/azprG1Anm3QDgpJLIm9Nao0Yz1ztcQTwFspd3yD65VohhpuuCOmLASjC" crossorigin="anonymous">
Try to play around with the CSS code and make your own design. Make it look unique and special.
Feel free to add <div> tags or more sections and information as you like.
If you want to add images, you can just find the link to the image. Then you can just write the file name src="[image-url]" for the source attribute.
Example Output
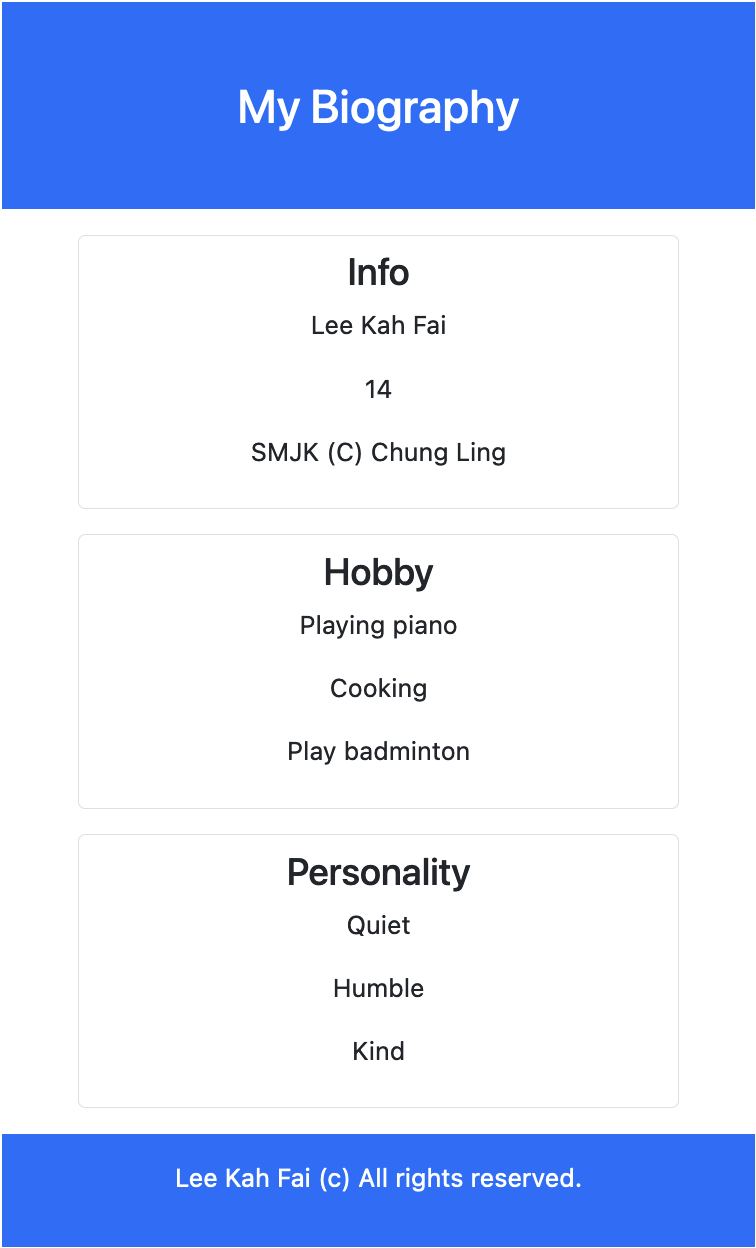
You can go to Color Hunt to find colours for your biography too. Or you can just use Bootstrap colours such as "bg-primary" or "text-white".
Be creative in your own way.
🐛 Debugging Tips
Common Issues and Solutions:
-
Component not showing up:
- Check if you imported the component correctly
- Verify the file name matches the import statement
- Make sure you're using the component tag in your HTML
-
Props not displaying:
- Ensure prop names match exactly (case-sensitive!)
- Check if you exported the variables in the component
- Verify you're passing the props correctly from parent
-
Spread operator error:
- Make sure you're using
{...objectName}not{objectName} - Check that your object has the correct property names
- Make sure you're using
-
Bootstrap styles not working:
- Verify the Bootstrap link is added to your App.svelte
- Check class names are spelled correctly
- Some Bootstrap classes need specific HTML structure
tip Quick Debug Check Open your browser's console (F12) to see if there are any error messages. Svelte provides helpful error messages!
🚀 Extension Challenges
Ready to take your biography to the next level? Try these challenges:
Challenge One: Add Social Media Links
Create a new component for social media links with icons:
php-template
<!-- SocialLinks.svelte -->
<script>
  export let links = [];
</script>

<div class="social-links">
  {#each links as link}
    <a href={link.url} target="_blank">{link.name}</a>
  {/each}
</div>
Challenge 2: Interactive Sections
Make sections expandable/collapsible:
php-template
<script>
  let isExpanded = false;
</script>

<button on:click={() => isExpanded = !isExpanded}>
  {isExpanded ? 'Hide' : 'Show'} {title}
</button>
Challenge 3: Theme Switcher
Add a light/dark mode toggle:
php-template
<script>
  let isDarkMode = false;
</script>

<button on:click={() => isDarkMode = !isDarkMode}>
  {isDarkMode ? '🌞' : '🌙'}
</button>
Challenge 4: Animated Entrance
Add fade-in animations to your sections using Svelte transitions.
Challenge 5: Multi-language Support
Create language toggle to show your biography in different languages.
Code Review
My Biography (Code Review)

🤖 AI Prompts
Code with AI: Enhance your biography page.
Prompts:
- "Svelte code for a component that displays a list of skills with interactive icons."
- "How can I use transitions and animations in Svelte to make my biography page more engaging?"
- "Create a Svelte component for displaying achievements with progress bars"
- "Show me how to add a photo gallery component to my Svelte biography page"
- "Generate CSS for a modern, responsive card layout for biography sections"
✅ Final Checklist
Before submitting, ensure you have:
- Created Header component with title prop
- Built reusable Section component
- Added Info, Hobby, and Personality sections
- Created Footer component with dynamic name
- Applied CSS or Bootstrap styling
- Tested all components display correctly
- Made the content personal to you
Project Submission
When you have completed your project, submit it using the link below:
Make sure to test your webpage before submitting to ensure all required elements are working properly!
tip Final Encouragement Congratulations on building your first Svelte biography page! You've learned component creation, props, and reusability - fundamental concepts in modern web development. Keep experimenting and adding your own creative touches! 🎉