Activity 1: Back-end Development
Practice and reinforce the concepts from Lesson 1
Guide on How to use Stackblitz
What you'll learn
In this activity, you will:
- Set up and use StackBlitz for online development
- Connect your GitHub account to StackBlitz
- Fork and commit changes to repositories
- Complete a backend development exercise
- Submit your work through provided forms
⏱️ Estimated time: 30-45 minutes total
- StackBlitz setup: 10 minutes
- Coding practice: 15-20 minutes
- Exercise completion: 10-15 minutes
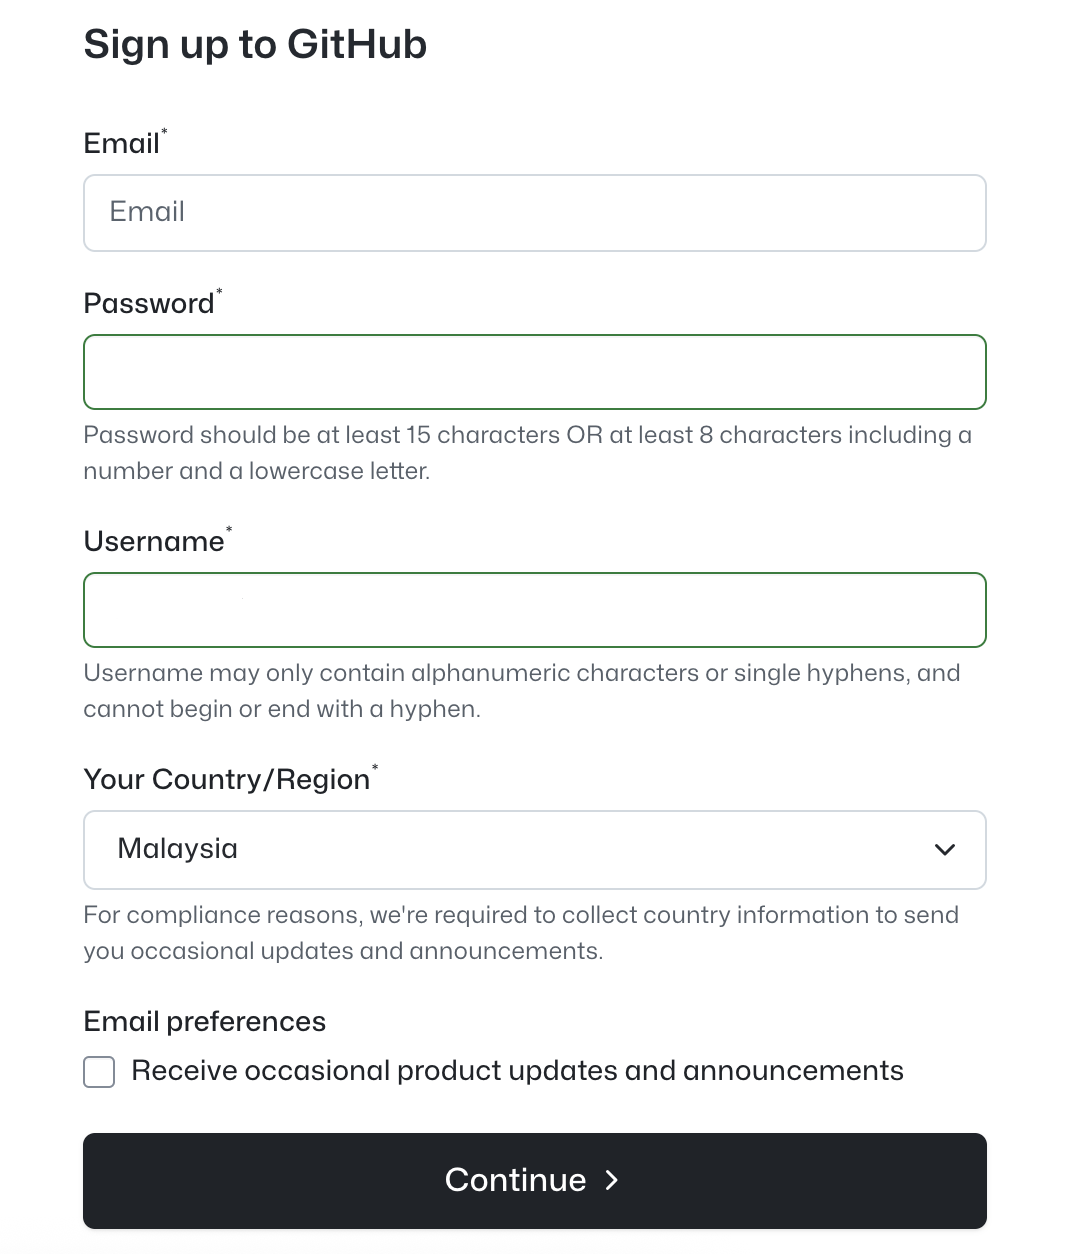
Prerequisites
- GitHub Account Required: You must have a GitHub account to use StackBlitz's GitHub integration
- If you don't have one, sign up for GitHub first

💻 Activity Part One: Setting Up StackBlitz
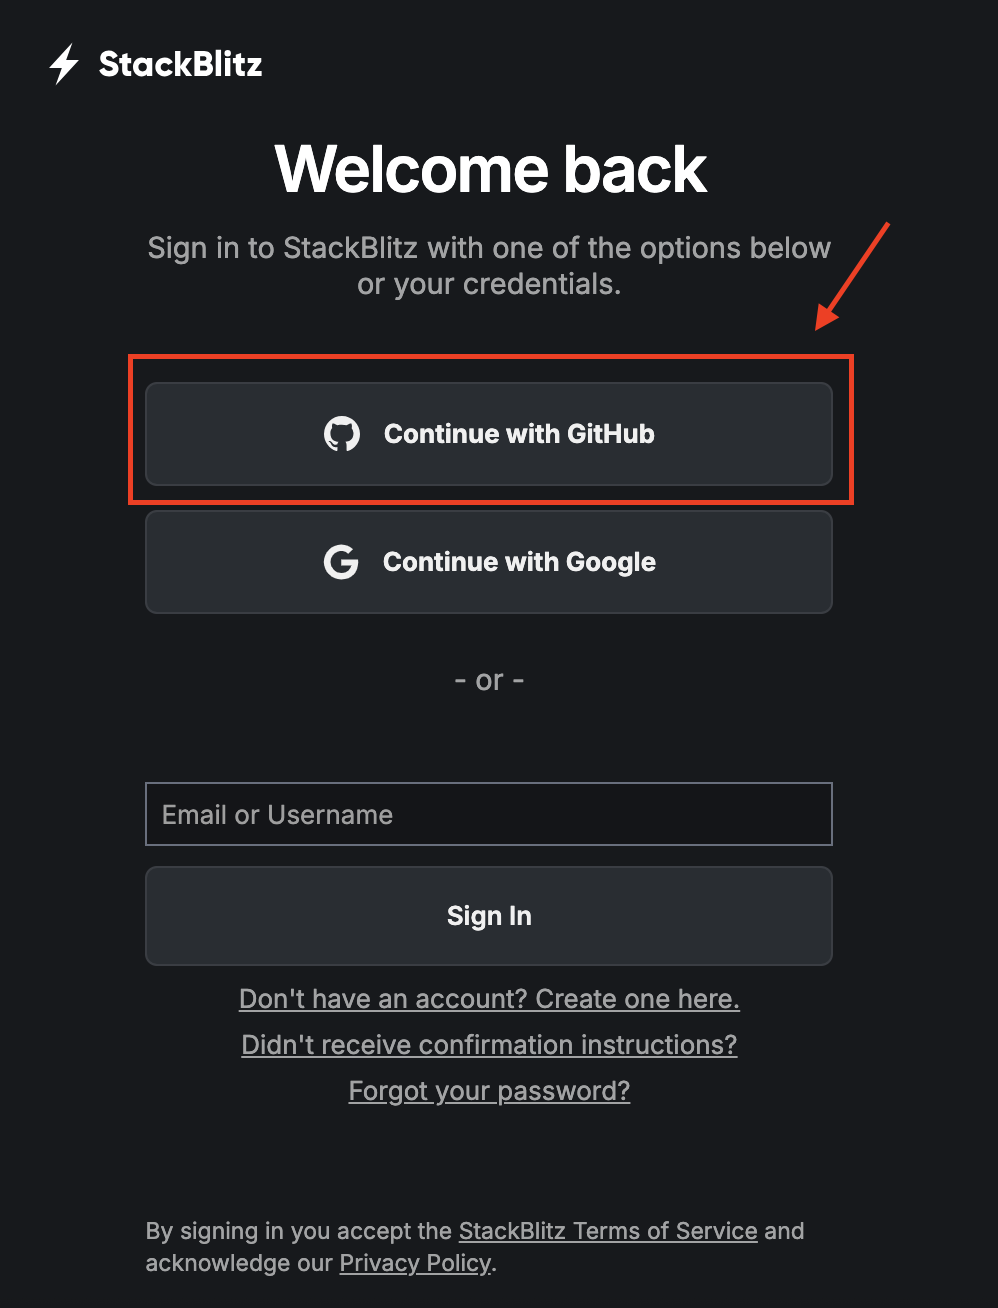
Step One: Access StackBlitz
⏱️ Time: 5 minutes
- Go to StackBlitz.com
- Click "Continue with GitHub" (red highlighted button)
- Authorize StackBlitz to access your GitHub account
💡 Tip Make sure to allow StackBlitz all necessary permissions to interact with your GitHub repositories. This will enable seamless integration for forking and committing.
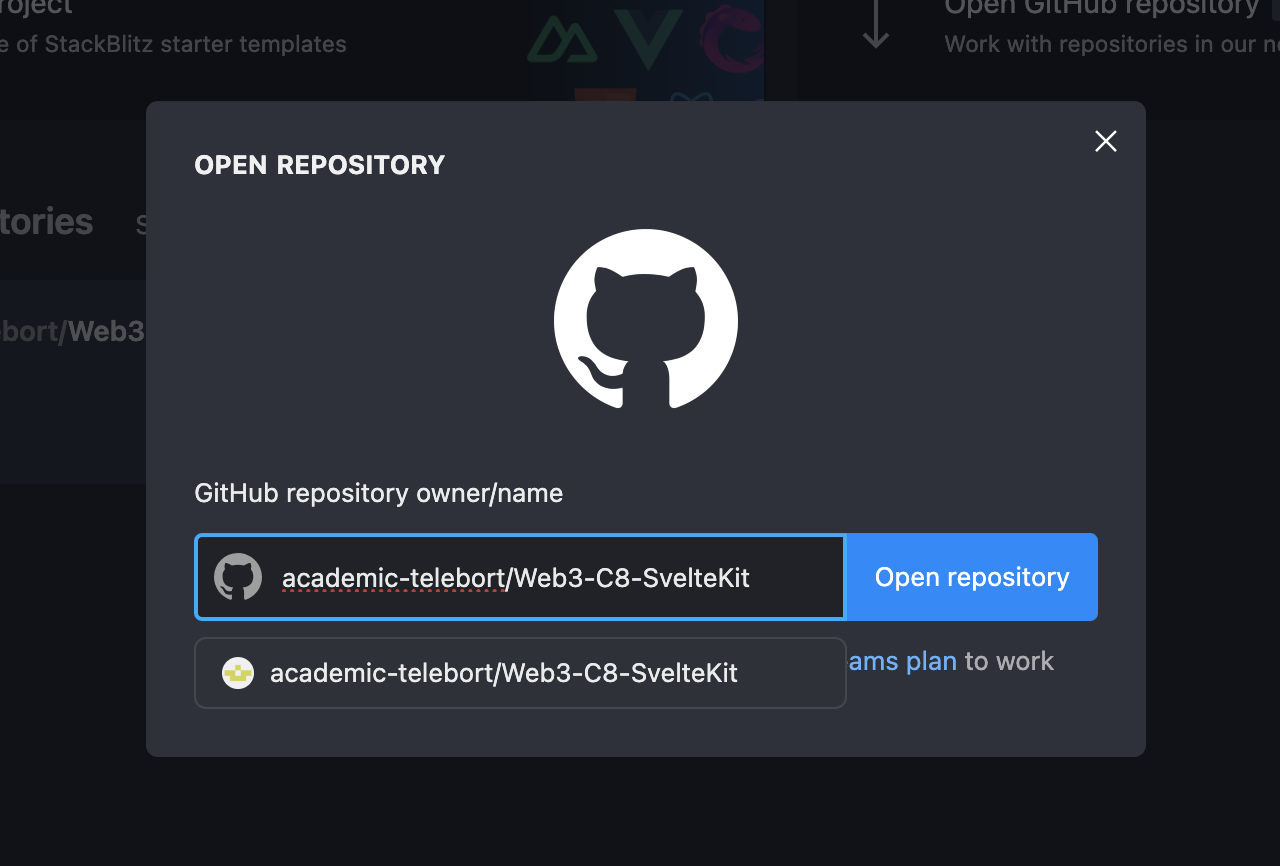
Step 2: Open a GitHub Repository
⏱️ Time: 3 minutes
- From StackBlitz dashboard, click "Open GitHub repository"
- In the dialog box, enter the repository in format:
owner/repository-name- Example:
academic-telebort/Web3-C8-SvelteKit
- Example:
- Click "Open repository"
💡 Tip Double-check the repository name and owner. Common errors include:
- Typos in the repository name
- Using incorrect capitalization
- Forgetting the owner name before the slash

💻 Activity Part 2: Coding Practice
Step 3: Work on Your Project
⏱️ Time: 10-15 minutes
- StackBlitz will load the repository in the online IDE
- Navigate to the appropriate folders (e.g.,
src/libfor components) - Make your changes and edits
- Test your code in the integrated preview
💡 Tip Use the integrated preview to test your changes in real-time:
- The preview updates automatically as you type
- Check the console for any error messages
- Use the refresh button if the preview gets stuck
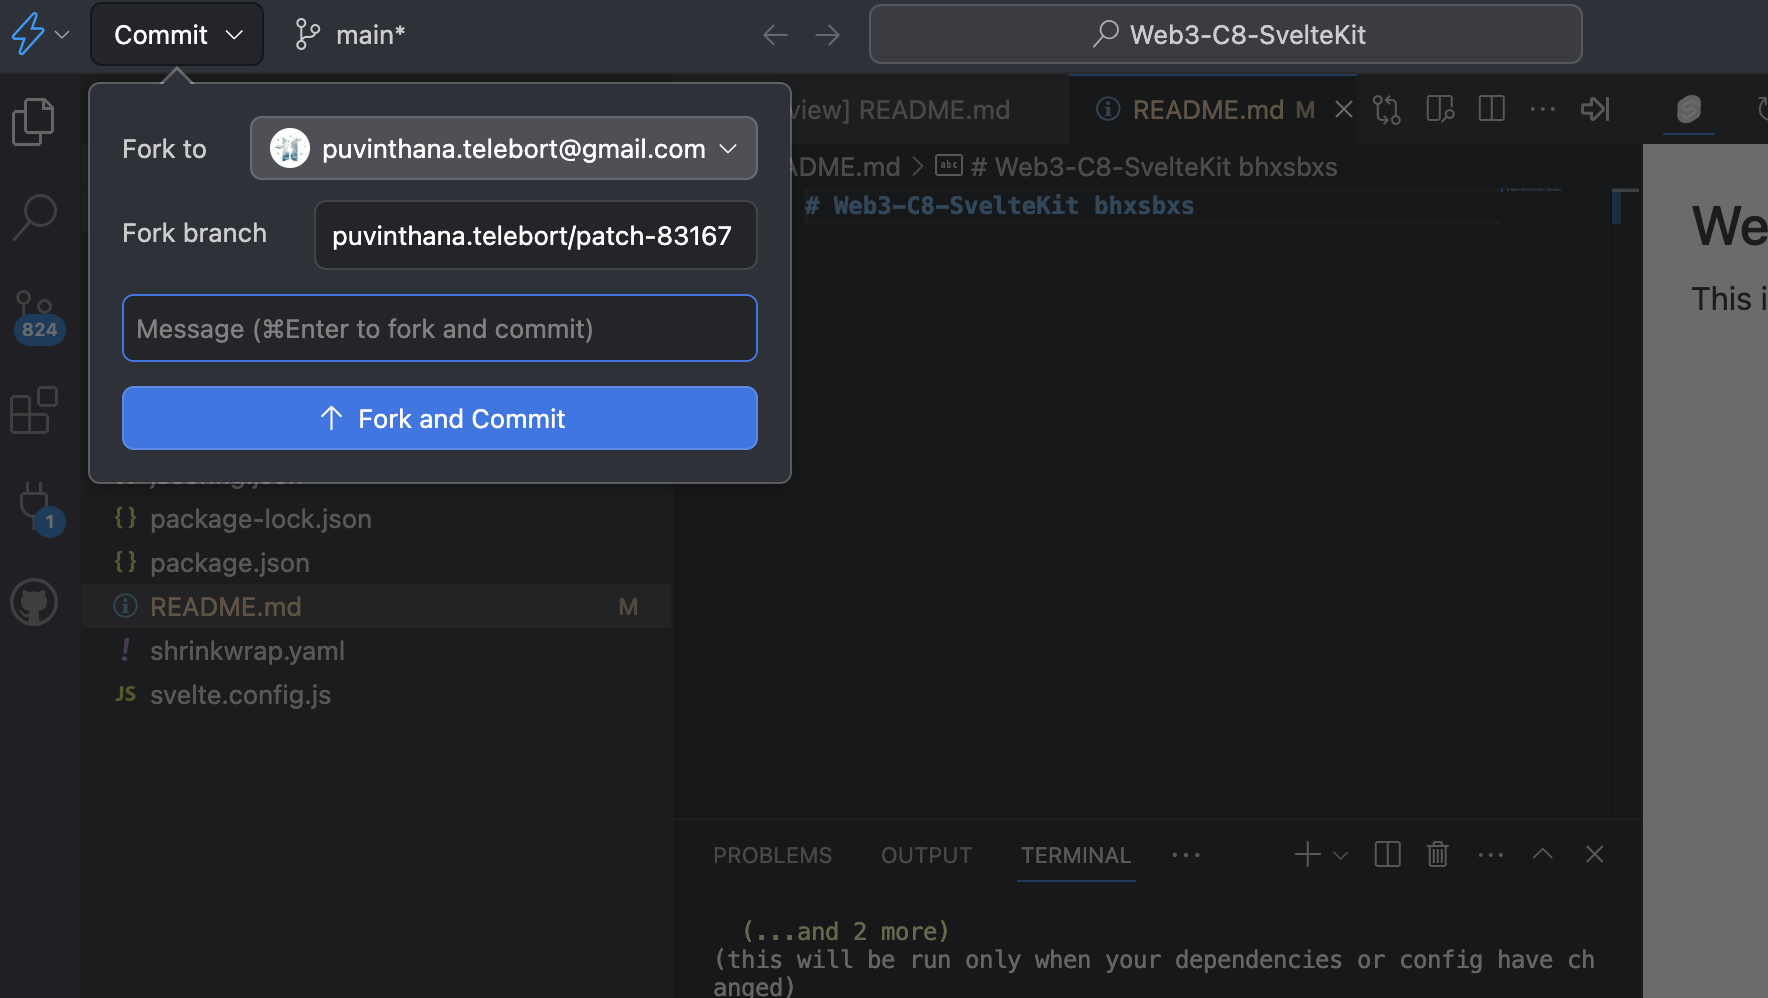
Step 4: Save Your Work (Fork & Commit)
⏱️ Time: 5 minutes
- When ready to save, click the "Fork and Commit" button
- Add a commit message describing your changes
- StackBlitz will:
- Fork the repository to your GitHub account
- Commit your changes to the fork
- Create a new branch with your modifications
- Submit your stackblitz link to the form
⚠️ Warning Important: Always click "Fork and Commit" before closing StackBlitz! Unsaved changes will be lost if you navigate away without committing.

Important Notes
ℹ️ Info Key points to remember:
- Always Fork First: StackBlitz automatically forks repositories when you commit changes
- Branch Creation: Each commit creates a new branch (e.g.,
patch-83167)- SvelteKit Structure: Understand the folder structure before making changes
- Commit Often: Save your progress frequently with descriptive commit messages
Workflow Summary
- Login -> StackBlitz with GitHub
- Open -> GitHub repository
- Code -> Make your changes
- Commit -> Fork and save changes
- Repeat -> Continue development cycle
This workflow lets you code directly in the browser while maintaining proper version control through GitHub!
Troubleshooting Common Issues
💡 Tip If you encounter problems:
- Repository won't load: Check if the repository is public or if you have access
- Changes not saving: Ensure you're logged in to GitHub and have forking permissions
- Preview not working: Try refreshing the preview pane or check for JavaScript errors
- Can't find your fork: Check your GitHub profile under "Repositories"
✍️ Activity Part 3: Backend Development Exercise
What this exercise covers
This exercise tests your understanding of backend development concepts covered in this lesson.
⏱️ Time: 10-15 minutes
This exercise consists of 10 objective questions.
Please make sure to answer ALL questions before submitting.
Instructions
- Read each question carefully
- Choose the correct answer for each question
- Review your answers before submitting
- Submit your form when you are done
⚠️ Warning Submission Requirements:
- You must answer ALL 10 questions
- You can only submit the form once
- Make sure your internet connection is stable before submitting
🔗 Access the Exercise Form Here
GitHub Profile Submission
After completing the exercise, please submit your GitHub profile link:
ℹ️ Before submitting your GitHub profile:
- Ensure your profile is public
- Add a profile README if you haven't already
- Verify all your project repositories are visible
📝 Submit Your GitHub Profile Here
Need Help?
💡 Tip If you're having trouble with any part of this activity:
- Review the lesson materials
- Check the troubleshooting section above
- Ask for help in the course discussion forum