Concept 14: Image Processing with OpenCV
Image Processing with OpenCV
:dart: Learning Objectives
By the end of this lesson, you will:
- Understand what image processing is and why it's important
- Learn how to resize images using OpenCV
- Master converting images to different formats (Grayscale, HSV, RGB)
- Apply special effects like edge detection and blur
- Practice basic image manipulation with Python code
:information_source: Image Processing is the process of performing operations on images to get useful output. Think of it like editing photos on your phone, but with code!
:emoji: What is Image Processing?
Image processing goes by many names:
- Image editing - changing how images look
- Image enhancement - making images better
But they all do the same thing: transform images to make them more useful!
:bulb: Why AI Needs Image Processing AI models need images in specific formats to learn effectively. For example, many AI models use grayscale images because they're simpler to process!
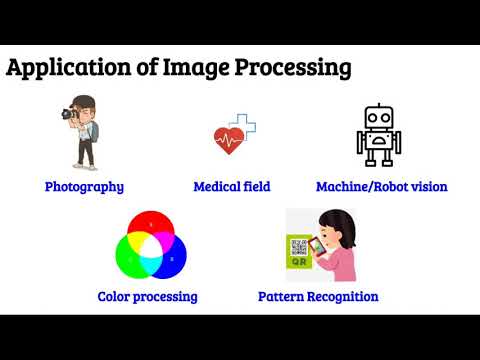
:star2: Real-World Applications
Image processing helps us in amazing ways:
-
:emoji: Photography
- Makes blurry photos sharp
- Enhances videos for movies
-
:emoji: Medical Field
- X-rays help doctors see inside your body
- CT scans create 3D images of organs
-
:emoji: Robot Vision
- Helps robots detect shapes and objects
- Enables self-driving cars to "see" the road
-
:art: Color Processing
- Converts images between color formats
- Creates special visual effects
-
:iphone: Pattern Recognition
- Reads QR codes on your phone
- Recognizes faces in photos
:rocket: Getting Started with OpenCV
OpenCV is a powerful tool that lets us process images with Python. Today, we'll learn two essential skills:
- :emoji: Resizing images - Making images bigger or smaller
- :art: Converting images - Changing image formats and adding effects
:memo: Before we start coding, make sure OpenCV is installed and imported in your Python environment!
:emoji: Resizing Images
Images come in all sizes! Sometimes they're too big for our screen, or too small to see details. That's why we need to resize them.
How to Resize
We use OpenCV's resize function:
cv.resize(image, dim, interpolation = cv.INTER_AREA)You can resize images in three ways:
- Scale - Make it proportionally smaller or larger (like 50% or 200%)
- Width - Set a specific width in pixels
- Height - Set a specific height in pixels
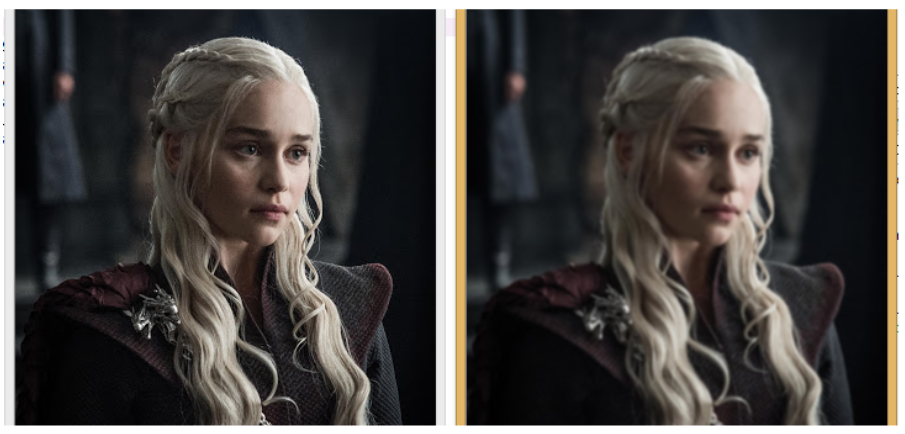
Example: Scaling an Image
Let's make an image 5 times smaller (scale = 0.2):
python# resize image scale = 0.2 width = int(img.shape[1]*scale) height = int(img.shape[0]*scale) dim = (width, height) img = cv.resize(img, dim, interpolation = cv.INTER_AREA)tip Keep Images Looking Good Always use scale to resize images proportionally. If you only change width or height, your image might look stretched or squished!
:art: Converting Images
Just like filters on your phone, we can transform images in different ways. Each transformation has a special purpose!
:information_source: OpenCV's Color System OpenCV uses BGR (Blue, Green, Red) by default, which is different from the usual RGB order. Don't worry - we can easily convert between them!
-
Example for HSV.
-
Example for RGB.
-
Example for Canny Edge.
-
Examples for Blur.
:wrench: Conversion Functions
Here are the main conversions you'll use:
| Conversion | Function | What it Does |
|---|---|---|
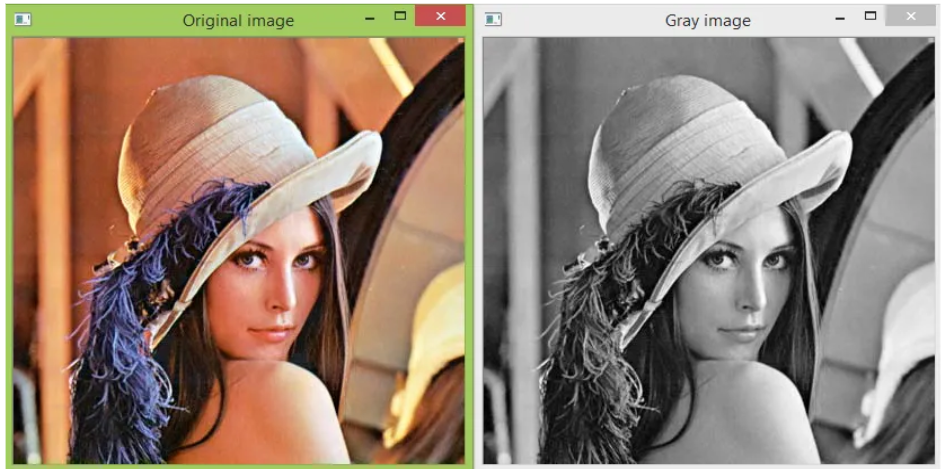
| Grayscale | cv.cvtColor(image, cv.COLOR_BGR2GRAY) |
Removes all colors, keeping only shades of gray |
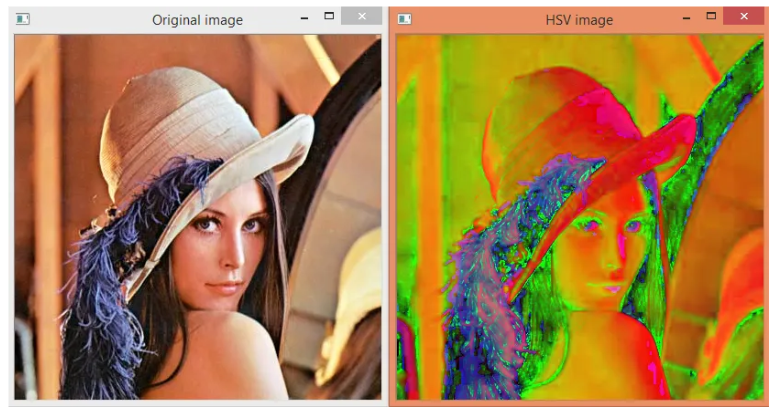
| HSV | cv.cvtColor(image, cv.COLOR_BGR2HSV) |
Changes to Hue-Saturation-Value format for color analysis |
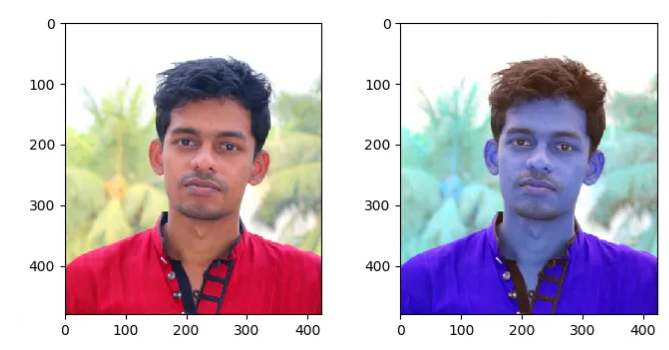
| RGB | cv.cvtColor(image, cv.COLOR_BGR2RGB) |
Converts to standard Red-Green-Blue format |
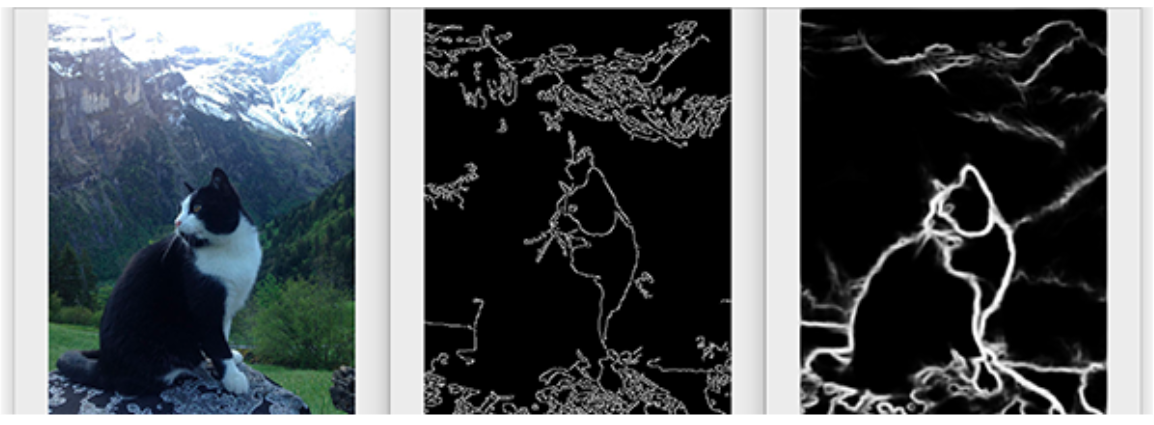
| Canny Edge | cv.Canny(image, 125, 175) |
Finds edges and outlines in images |
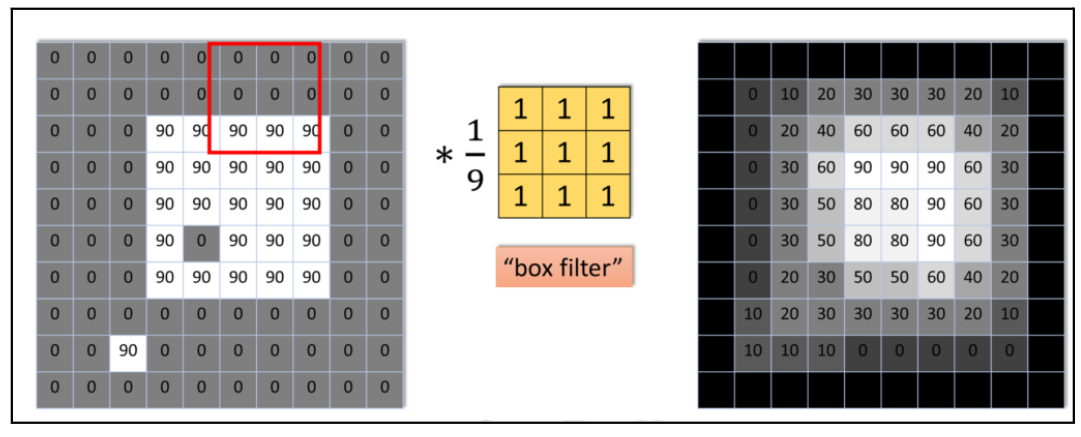
| Blur | cv.GaussianBlur(image, (7,7), cv.BORDER_DEFAULT) |
Makes images softer and less sharp |
:memo: Important Parameters
- Canny Edge: Use minValue=125 and maxValue=175 for best results
- Blur: Box filter dimensions must be odd numbers like (3,3), (5,5), or (7,7)
:computer: Code Examples
Here's how to apply each conversion:
python
# Convert to gray
gray = cv.cvtColor(img, cv.COLOR_BGR2GRAY)
# Convert to HSV
hsv = cv.cvtColor(img, cv.COLOR_BGR2HSV)
# Convert to RGB
rgb = cv.cvtColor(img, cv.COLOR_BGR2RGB)
# Convert to Canny Edge
canny = cv.Canny(img, 125, 175)
# Convert to Blur
blur = cv.GaussianBlur(img, (7, 7), cv.BORDER_DEFAULT)
:books: Summary
You've learned powerful image processing techniques:
- Resizing helps fit images to any size you need
- Grayscale simplifies images for AI processing
- HSV helps analyze colors in different ways
- Canny Edge finds outlines and shapes
- Blur creates soft, smooth effects
These tools are the foundation for computer vision and AI applications!
:movie_camera: Video Tutorial
:emoji: AI Prompt Practice
Code with AI: Try using AI to perform image manipulation.
Prompts to Try:
- "Write Python code to resize an image using OpenCV."
- "Generate code to draw a rectangle on an image."
- "Show me how to apply multiple filters to the same image."
- "Create code to save processed images to a new file."
:trophy: Practice Challenges
- Resize Challenge: Load your favorite photo and resize it to exactly 300x300 pixels
- Filter Fun: Apply all five conversions to one image and display them side by side
- Creative Project: Combine blur and edge detection to create an artistic effect
- Real Application: Build a simple program that converts all images in a folder to grayscale
:bulb: Next Steps Try combining these techniques! For example, you could resize an image first, then apply edge detection to find shapes more easily.