Concept 11: Streamlit
Streamlit
Learning Objectives
By the end of this lesson, you will be able to:
- Understand what Streamlit is and why it's useful
- Install and set up Streamlit on your computer
- Create simple web interfaces with text, images, and videos
- Add interactive elements like buttons and input fields
- Build your first Streamlit web application
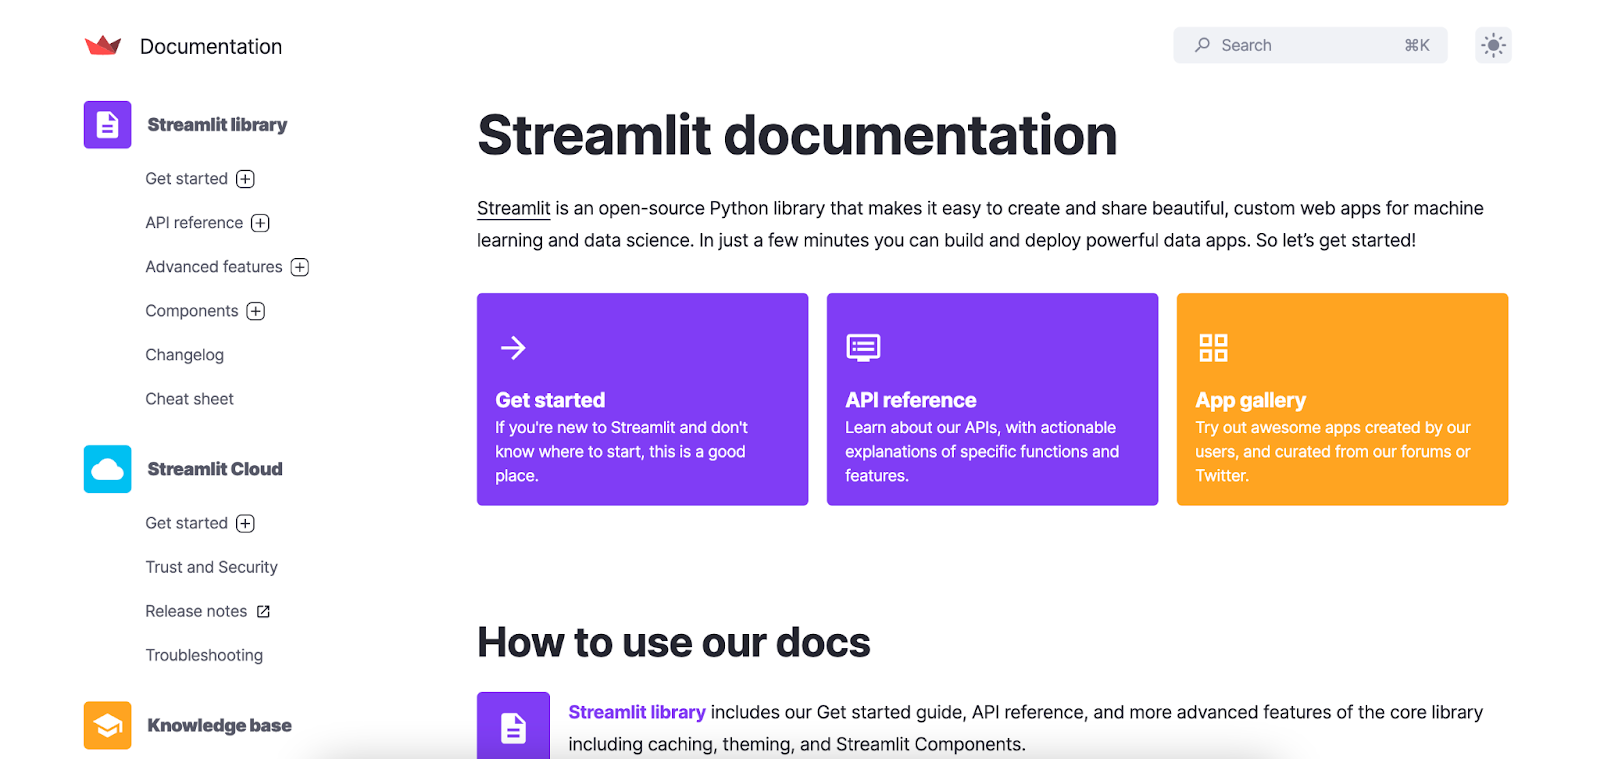
:information_source: Definition: Streamlit is an open-source app framework that lets you create web applications using Python. It's especially popular for Machine Learning and Data Science projects.
Streamlit helps you turn your Python code into interactive web apps quickly and easily. You don't need to know HTML, CSS, or JavaScript - just Python!
The company started in San Francisco, California in 2018. Three friends - Adrien Treuille, Amanda Kelly, and Thiago Teixeira - created it to make building data apps easier.
The platform gives you tools to:
- Write Python scripts that become web apps
- Add widgets (like buttons and sliders)
- Deploy your apps instantly
- Work with your team
- Manage your applications
:memo: Streamlit works with many popular Python libraries you might already know:
- Scikit Learn - for machine learning
- OpenCV - for computer vision
- TensorFlow and PyTorch - for deep learning
- NumPy and Pandas - for data manipulation
- Matplotlib, Plotly, and Seaborn - for creating charts
- And many more!
To learn more about Streamlit, you can visit Streamlit Documentation here: https://docs.streamlit.io/
:rocket: Setting Up Streamlit
Before building your first web app, you need to set up Streamlit on your computer. Let's do this in two steps:
Step One: Install and Import Streamlit
First, let's get Streamlit on your computer:
-
Open VSCode - We'll use VSCode to write our code. (Need help setting up VSCode? Watch this setup video)
-
Install Streamlit - Open the terminal in VSCode and type:
bashpy -m pip install streamlit -
Import Streamlit in your Python file:
pythonimport streamlit as st -
Test your installation - Run this command to see a demo app:
bashstreamlit hello
:bulb: The
as stpart creates a shortcut. Instead of typingstreamlit.title(), you can just typest.title()!
Step 2: Run Your Streamlit App
To run your own Streamlit app:
- Save your Python file (for example:
my_app.py)- In the terminal, type:
bashpy -m streamlit run my_app.py- Your web browser will open automatically with your app!
:art: Building a Streamlit Web Interface
Now for the fun part! Let's learn how to add different elements to your web app. Think of these as building blocks for your website.
:memo: Display Text Elements
Streamlit gives you many ways to show text on your webpage. Here are the most useful ones:
One. Title - The biggest text, perfect for your app's name
pythonst.title("My Amazing App")2. Header - Large text for section titles
pythonst.header("Welcome Section")3. Subheader - Medium text for subsections
pythonst.subheader("About This App")4. Regular Text - Simple text display
pythonst.text("This is plain text")5. Markdown - Text with formatting (bold, italic, links)
pythonst.markdown("This is **bold** and this is *italic*")note Markdown lets you format text easily! Use
**text**for bold and*text*for italic.
:emoji:️ Display Image and Video Elements
Make your app more visual by adding images and videos!
Display an Image:
python
st.image(image, width=300, caption="My cool image")
image- Your image file or URLwidth- How wide the image should be (in pixels)caption- Text under the image
Display a Video:
python
st.video(video_file)
video_file- Your video file or URL
:emoji:️ Display Widgets and Sidebar
Widgets make your app interactive! Users can click buttons and select options.
Button - Creates a clickable button
python
if st.button("Click Me!"):
    st.write("You clicked the button!")
Select Box - Creates a dropdown menu
python
choice = st.selectbox("What's your favorite color?", ("Red", "Blue", "Green"))
Sidebar - Adds a side panel to organize controls
python
st.sidebar.title("Settings")
st.sidebar.button("Save")
:bulb: Want to explore more? Streamlit can also display:
- :bar_chart: Data frames and tables
- :chart_with_upwards_trend: Charts and graphs
- :emoji: Audio files
Check out the full list at: https://docs.streamlit.io/library/api-reference
:speech_balloon: Receiving User Input
Your app becomes truly interactive when users can input information! Let's learn how to collect different types of input.
Text Inputs
Single-line Text Input - Perfect for short answers like names
python
name = st.text_input("What is your name?")
st.write(f"Hello, {name}!")
Multi-line Text Area - Great for longer text like addresses or comments
python
address = st.text_area("What is your address?")
st.write(f"You live at: {address}")
File and Media Inputs
File Upload - Let users upload documents, images, or data files
python
file_upload = st.file_uploader("Upload a file")
if file_upload is not None:
    st.write("File uploaded successfully!")
Camera Input - Access the user's webcam for photos
python
webcam_input = st.camera_input("Take a picture")
if webcam_input is not None:
    st.image(webcam_input)
:memo: Note Always save user input to a variable so you can use it later in your program!
:books: Summary
You've learned the basics of Streamlit! Here's what you can do now:
- :white_check_mark: Install and set up Streamlit
- :white_check_mark: Create text elements (titles, headers, regular text)
- :white_check_mark: Add images and videos to your app
- :white_check_mark: Make your app interactive with buttons and select boxes
- :white_check_mark: Collect user input through text fields and file uploads
- :white_check_mark: Use the sidebar to organize your app
Remember: Streamlit turns your Python code into web apps without needing to learn web development!
:movie_camera: Video Tutorial
:emoji: AI Prompt Practice
Code with AI: Try using AI to create Streamlit elements.
Prompts to try:
- "Write Python code to create a simple web application using Streamlit."
- "How do I add interactive widgets to a Streamlit app?"
- "Create a Streamlit app that asks for my name and displays a personalized greeting."
- "Show me how to upload and display an image using Streamlit."
:dart: Practice Activities
-
Hello World App - Create your first Streamlit app that displays "Hello World" with a title and header.
-
Personal Info Form - Build an app that:
- Asks for the user's name
- Asks for their favorite color using a select box
- Displays a personalized message with their choices
-
Photo Gallery - Create an app that:
- Lets users upload an image
- Displays the image with a caption
- Adds a button to clear the image
-
Interactive Story - Build an app where:
- Users can input their name
- Select options from dropdown menus
- Generate a short story based on their choices
Remember to run your app with py -m streamlit run filename.py to see your creation!